
Last updated November 16, 2026
 AC repair
 Furnace & heating
 Heat pumps
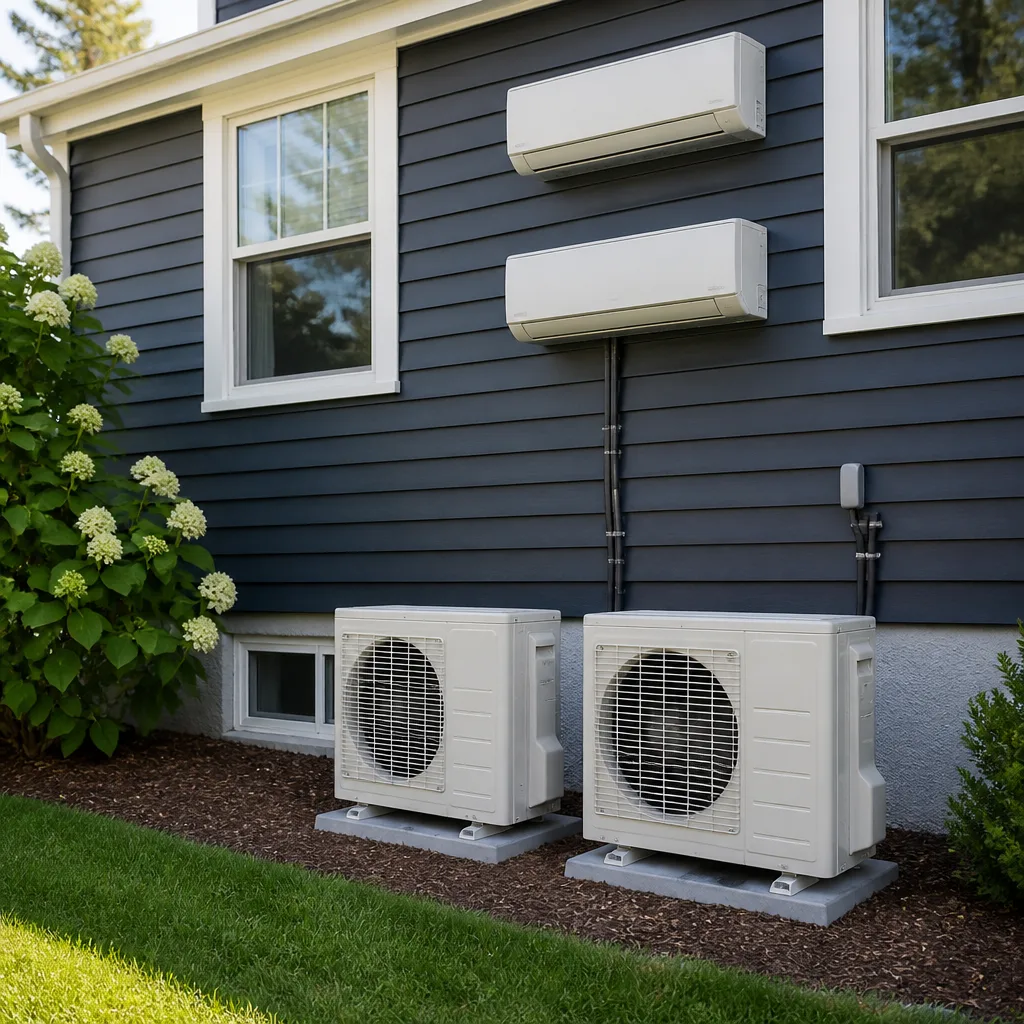 Ductless mini splits
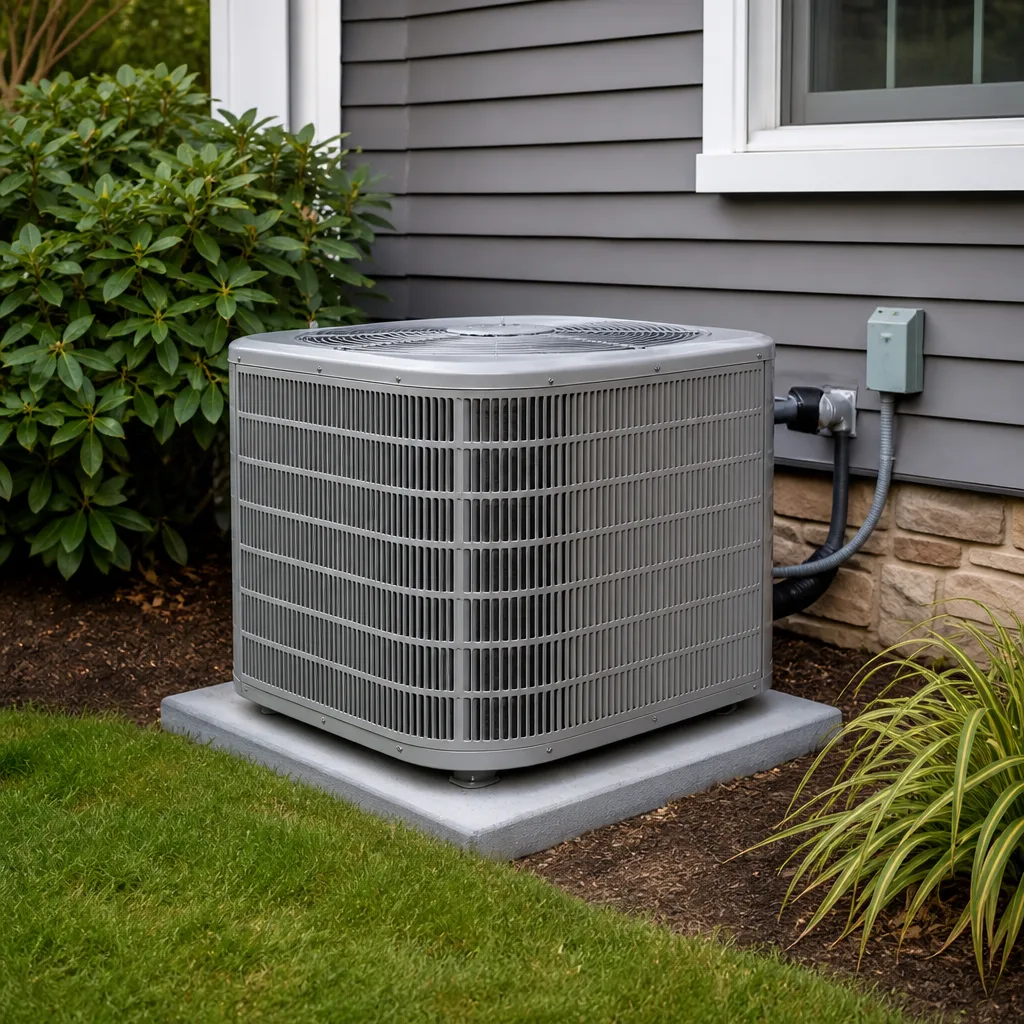 Carrier
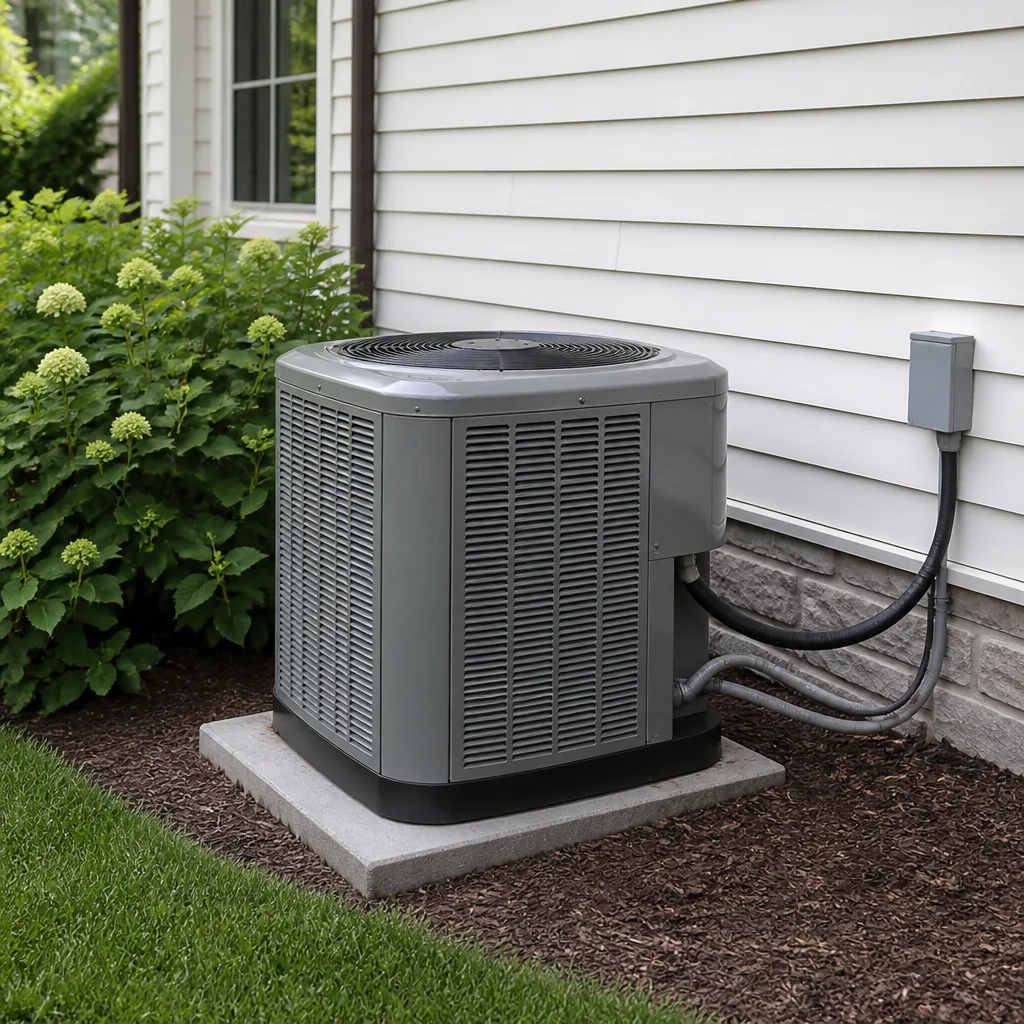 Trane
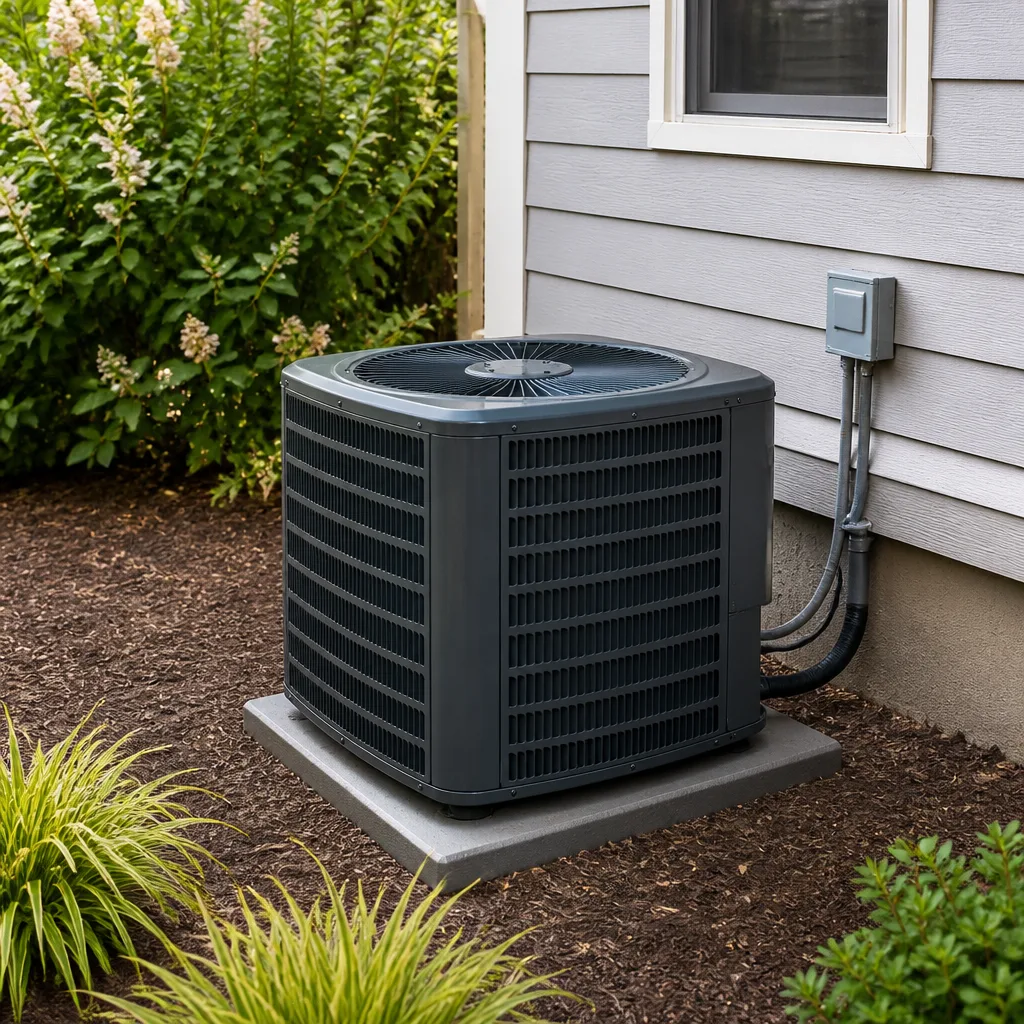 Goodman
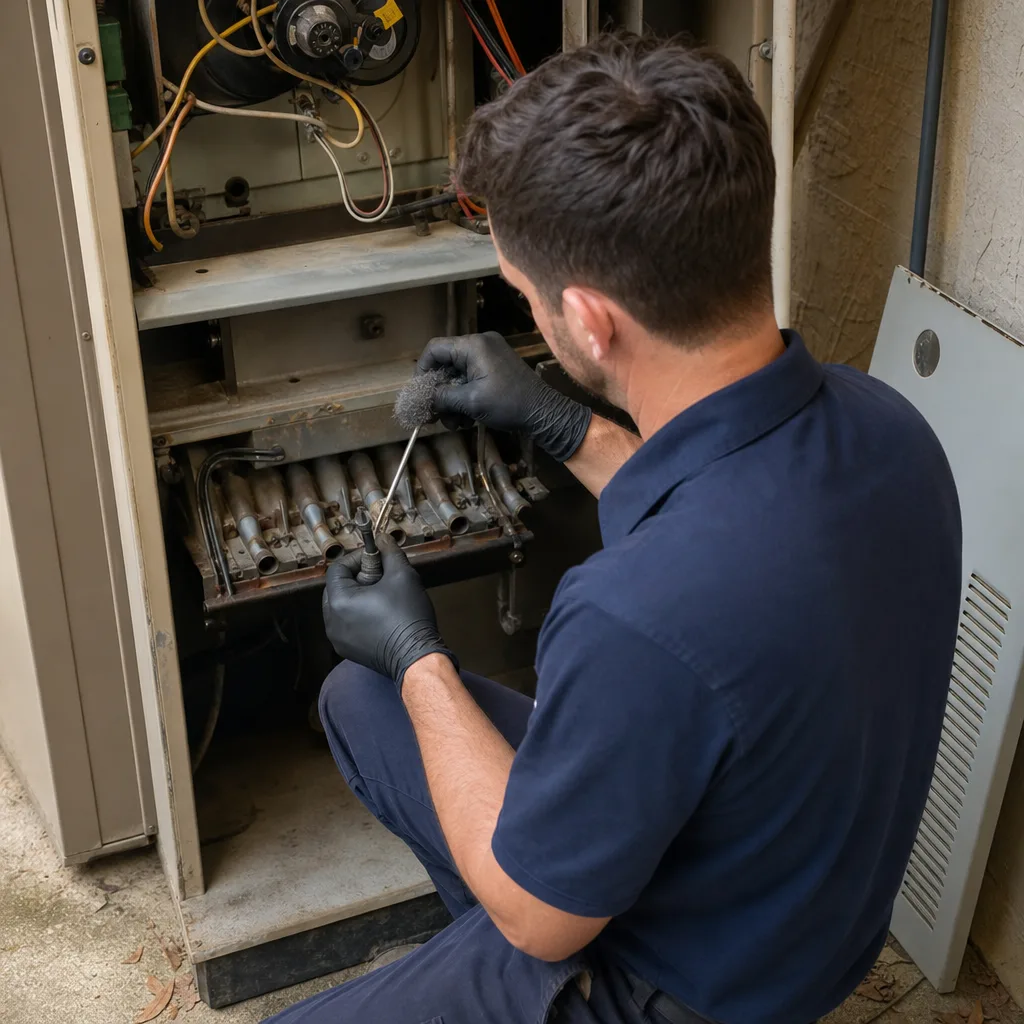
Seasonal tune-up and full diagnostic on your Carrier, Trane, or Goodman system - readings shown to you before any repair is proposed
Diagnosis first, numbers second - you approve the repair price before a single part goes in.
Get your free estimateAC Installation Maintenance Checklist for Tallahassee Homeowners
A brand-new air conditioner can pass its startup check and still be running on a wrong refrigerant charge, a mismatched thermostat schedule, or an undersized return duct. That gap between “it turned on and blew cold” and “it’s set up correctly for the next ten years” is where most of the money quietly leaks out. In Tallahassee, where the cooling season is long and the humidity is relentless, configuration errors don’t stay small for very long. This guide walks you through what to verify on day one, day thirty, and after that first full summer, so you know your system is actually dialed in and not just technically running.
Quick Answer
A proper post-installation maintenance routine for a new AC in Tallahassee means confirming the basics before the installer leaves (charge, airflow, thermostat settings, and documentation), checking the filter and condensate line at 30 days, and inspecting coil cleanliness, drain pan condition, and refrigerant pressure trends after the first full cooling season. Logging baseline readings at each stage gives every future technician a comparison point, which is the difference between catching a slow problem early and discovering it after a component fails.
Styles & brands we work with
- AC repair
- Furnace & heating
- Heat pumps
- Ductless mini splits
- Carrier
- Trane
- Goodman
Table of Contents
- Why the First 90 Days After Installation Matter Most
- Day-One Verification: What to Confirm Before the Installer Leaves
- How to Log Baseline Static Pressure and Airflow Readings
- The 30-Day Filter and Condensate Check
- What to Look For After the First Full Cooling Season
- Managing Humidity in a Tallahassee Summer
- Warranty Documentation Steps Most Homeowners Skip
- Common Mistakes to Avoid
- When to Call a Professional
- Frequently Asked Questions
Why the First 90 Days After Installation Matter Most
Most installation checklists stop at the startup verification. The tech reads pressures, confirms the unit cycles, and drives away. That one-hour check happens in whatever weather the day delivers, and in a Tallahassee spring that’s often mild enough that a system with a slightly low charge or a restricted return can still keep the house comfortable. The problem doesn’t announce itself until July, when the same system is working against a much heavier load and the small errors from day one have become permanent operating habits.
A refrigerant charge that’s modestly off spec is a good example. The unit still cools, so nothing seems wrong. But the compressor is running longer cycles than it should, the indoor coil may start to ice in humid weather, and efficiency drops. A duct system with an undersized return has the same profile: it works, until it doesn’t. The blower pulls harder, static pressure climbs, and the motor runs hotter than it’s designed to. None of that shows up on a mild-weather startup test.
The first 90 days are also when you have the most leverage. If something is wrong, the installing contractor is still on the hook for it. Once a full summer passes and warranty windows narrow, corrections get more expensive and harder to attribute.
What follows is the checklist we’d hand a homeowner after any new system goes in, whether it’s a Trane, a Carrier, an American Standard, or a value-tier unit. It applies regardless of brand. If you’re still comparing quotes and haven’t installed yet, our AC installation page covers what a properly sized, properly commissioned job should include from the start.
Day-One Verification: What to Confirm Before the Installer Leaves
This is the most important window in the entire process, and it’s the one homeowners most often waste by staying out of the way. You don’t need to be an HVAC expert to confirm the basics. You need a list, a few minutes, and the willingness to ask questions while the crew is still on site.
- Confirm the model and serial numbers match your paperwork. Find the data plate on the outdoor unit and the air handler, photograph both, and compare them to the contract. Installing a different tier or tonnage than what you paid for is rare but not unheard of, and catching it on day one is simple.
- Ask for the refrigerant charge readings in writing. The tech should have superheat and subcooling values logged, not just “charge verified.” Those numbers are your baseline for every future service call.
- Confirm the thermostat is set to the correct system type and fan mode. A thermostat configured for the wrong equipment type, or left in continuous fan mode, will quietly change how the whole system runs. Ask which mode it’s in and why.
- Walk the return and supply registers. Every room that had airflow before should still have it. A room that’s suddenly weak is a sign of a duct problem the startup check missed.
- Watch the condensate drain. Water should be moving to the drain, not pooling in the pan or backing up the line. Confirm the float switch is installed and where it’s located.
- Get the filter size and location. Write it on a sticky note on the air handler. You’ll need it in 30 days.
- Collect the full documentation packet. Warranty registration confirmation, model numbers, refrigerant type, and any commissioning report. If the tech doesn’t have it printed, ask for it emailed before they leave.
None of this is confrontational. A competent installer expects these questions and usually appreciates them. If the crew can’t or won’t answer them, that tells you something useful about how a future warranty call will go.
How to Log Baseline Static Pressure and Airflow Readings
Here’s a habit almost no homeowner keeps, and it’s one of the most valuable things you can do after a new install: keep a simple log of the system’s baseline numbers. Static pressure, airflow, superheat, subcooling, and amp draw. Ask the installing technician for these on the final commissioning report and stash them somewhere you’ll find them again, like a folder in your email or a note taped inside the air handler closet.
Why it matters: when a technician arrives in year three because the house isn’t cooling like it used to, the first question is always “what did it read when it was new?” Without a baseline, that technician is guessing. With one, they can see whether static pressure has climbed (a sign of a dirty coil or a duct problem), whether the charge has drifted, or whether the blower is working harder than it once was.
- Total external static pressure: a measure of how much resistance the duct system puts on the blower. Rising numbers over time point to filters, coils, or duct issues.
- Superheat and subcooling: the refrigerant charge indicators. Keeping the original values lets a future tech compare rather than start from scratch.
- Temperature split: the difference between return air and supply air temperature. Easy to recheck on any service visit.
- Blower motor amp draw: useful for spotting a motor laboring under added resistance.
In our experience, systems with documented baselines get diagnosed faster and get fewer unnecessary parts thrown at them. If you’re comparing contractors before a purchase, ask each one whether they provide a written commissioning report. The ones who do are usually the ones who take the setup seriously. If you want a starting point, our Ridgeway AC Repair team can walk you through what a full report should include.
The 30-Day Filter and Condensate Check
The first month is when the two most common first-season failures in Tallahassee show up: a clogged filter and a clogged condensate drain. Neither is dramatic, and both are preventable with a quick monthly routine.
The 30-day filter check
Pull the filter and hold it up to a light. If you can’t see through it, replace it. In a Tallahassee summer, with the system running most of the day and the windows closed, a standard 1-inch filter can load up faster than the manufacturer’s “change every 90 days” recommendation suggests. Check it at 30 days, note what you find, and set your replacement interval from there. Homes with pets or nearby construction may need a faster schedule.
The 30-day condensate check
Tallahassee’s humidity means the system pulls a lot of water out of the air, and that water has to leave the system cleanly. Look for:
- Water in the drain pan when the system is running. Any standing water is a warning sign.
- Algae growth in the condensate line, which shows as a dark film in the clear plastic section near the air handler.
- The float switch position. It should be mounted so it triggers before water overflows, not after.
- The drain line termination point outside. Water should be trickling out steadily on a hot day, not dripping slowly or stopped entirely.
If you see algae or standing water, call for service rather than trying to clear it yourself. A backed-up drain line can cause water damage inside the air handler closet, and a system that shuts off on a float switch in July is a system that isn’t cooling your house. Fast dispatch from 7am to 7pm gets a technician out the same day for issues like this. Our furnace repair team handles the heating side of the same system, so if your next service visit covers both seasons, that’s one call.
What to Look For After the First Full Cooling Season
Once you’ve run the system through a Tallahassee summer, you have real data. This is the point where the checklist shifts from “confirm it’s set up right” to “confirm it’s holding up.”
Coil cleanliness
The indoor evaporator coil and the outdoor condenser coil both collect dust and debris over a season. In a humid climate, that dust combines with moisture and can support biological growth on the coil surface. A visible layer of debris on the outdoor coil fins, or a musty smell when the system runs, are both signs the coil needs attention. Coil cleaning is part of routine maintenance, not a repair.
Refrigerant pressure trends
Compare the superheat and subcooling readings from a post-season check against your day-one baseline. If the numbers have shifted, the technician can investigate why before the system loses cooling capacity. A slow leak or a drifting charge is much cheaper to address now than after the compressor has run a full season under stress.
Drain pan condition
Look for rust, cracks, or standing water in the pan. In a high-humidity climate, a pan that’s holding water from a slow drain issue can start to rust within a single season. This is a low-cost part to replace proactively and a painful one to replace after it has failed and caused damage.
Operating costs and runtime
Compare your summer utility bills before and after the new system. If the new unit isn’t running cheaper than the old one, something in the installation or the home’s envelope is worth investigating. A misconfigured system can erase most of the efficiency gains a new unit is supposed to deliver.
The same seasonal walkthrough applies when you’re evaluating an older system for replacement rather than a new one. If the Tallahassee heat is pushing an aging unit past its limits this summer, an honest repair-or-replace conversation is worth having before the next cooling season arrives.
Managing Humidity in a Tallahassee Summer
Cooling is only half the job here. Tallahassee’s humidity makes moisture control just as important, and a new system that’s set up strictly for temperature will often leave the house feeling clammy even when the thermostat reads 74. That’s because humidity removal depends on how long the system runs, not just how cold the air gets.
A thermostat that’s set to bring the house to temperature quickly and then shut off for long stretches is doing less dehumidification than one that runs longer, gentler cycles. Some systems have a dedicated dehumidify mode or a variable-speed blower that’s configured for exactly this. If your thermostat has those features and they weren’t demonstrated during installation, that’s a gap worth raising.
- Keep the fan set to auto rather than on. Continuous fan runs air over a wet coil after the compressor stops, pushing moisture back into the house.
- Check that the thermostat’s humidity setting, if it has one, is configured to the level you actually want, not left at a factory default.
- Keep interior doors open when possible. Closed-off rooms with weak returns tend to stay humid.
- Watch for condensation on supply registers. Persistent condensation points to an airflow or insulation issue worth investigating.
The good news is that a properly commissioned system handles this well on its own. If yours doesn’t, the fix is usually a configuration adjustment, not a new system.
Warranty Documentation Steps Most Homeowners Skip
When a component fails in year three, the difference between a covered repair and an out-of-pocket one is almost always paperwork. Manufacturer warranties on major components often require registration within a set window after installation, and the burden is on the homeowner to have the documentation ready.
- Register the product with the manufacturer. Most brands, including Bryant, Carrier, and Trane, have online registration portals. Do it the week the system is installed, not the week it fails.
- Keep a single folder for the full packet. Model and serial numbers, the original contract, the commissioning report, the registration confirmation, and any maintenance records. Digitize it if you can.
- Log every service visit with the readings taken. A future warranty claim is much stronger when you can show a documented service history, including filter changes and coil cleanings.
- Read the maintenance requirements in the warranty. Some component warranties are conditional on regular maintenance being performed and documented. Skipping that can void the coverage without you realizing it.
- Know what the labor warranty covers and for how long. Parts warranties and labor warranties are often different lengths. Confirm both in writing at installation.
None of this is complicated. It just requires doing it in the first week rather than the third year.
Common Mistakes to Avoid
- Skipping the day-one walkthrough. Homeowners often step aside and let the install crew finish without asking questions. The questions are easier to ask now than after the crew has left and the paperwork is filed.
- Assuming the thermostat is configured correctly because it’s new. A new thermostat still has to be told what equipment it’s controlling. A mismatch between thermostat settings and system type can affect efficiency and comfort for years.
- Swapping filters by the manufacturer’s schedule instead of your home’s actual load. A Tallahassee home with pets, nearby construction, or windows open for part of the year will need filter changes more often than the label says.
- Running the fan continuously to “keep air moving.” It feels better in the moment and pushes moisture back into the house the rest of the time. Auto is the right setting unless a technician has told you otherwise for a specific reason.
- Ignoring the first musty smell. A musty smell after installation points to a moisture problem, usually on the indoor coil or in the drain pan. Early attention is cheap; a coil that’s been growing biological growth for a season is not.
- Skipping warranty registration because the installer said they’d handle it. Confirm the registration was actually completed. It takes two minutes to check and saves a headache later.
- Assuming the new system will pay for itself automatically. A new system configured poorly can cost as much to run as the old one it replaced. The savings come from proper setup, not from the box.
When to Call a Professional
Some items on this checklist you can handle yourself: changing the filter, checking the condensate line, monitoring the thermostat settings. Others should go to a trained technician. Call a professional if you notice any of the following: the system short-cycles or runs constantly without reaching the set temperature; there’s standing water in the drain pan or the float switch has tripped; the refrigerant pressures or superheat/subcooling values have drifted from baseline; the outdoor unit makes unusual sounds or the indoor coil shows a visible layer of debris; the house feels humid even when the temperature is comfortable; or the system trips the breaker repeatedly. These are all signs of a configuration or component issue that gets more expensive with time. Ridgeway AC Repair offers free estimates in Tallahassee – call (844) 834-0157 and we’ll send a technician who knows the system you already have.
Frequently Asked Questions
Check the filter at 30 days, not the manufacturer’s standard 90-day interval. A new install is the best time to establish your home’s real filter-replacement rhythm, and in a Tallahassee summer with the system running most of the day, a standard 1-inch filter can load up faster than the label suggests. If it’s visibly dark or you can’t see through it, replace it and shorten the interval.
Ask for the refrigerant charge readings in writing, the model and serial numbers, the thermostat configuration, the filter size and location, and a written commissioning report. Confirm the condensate drain is flowing and the float switch is mounted correctly. Then confirm that warranty registration is complete before the crew pulls out of the driveway, not afterward.
A system set up to hit the thermostat temperature quickly and shut off runs shorter cycles than a system configured for humidity control, and shorter cycles pull less moisture out of the air. In a Tallahassee summer, this is common. Check that the fan is set to auto rather than on, and ask a technician whether the thermostat’s dehumidify settings are configured correctly for your system.
Once in the spring before cooling season and once in the fall before heating season is a reasonable baseline for a new installation. The spring visit is the more important one in Tallahassee, and it should include a coil check, a refrigerant pressure comparison against your baseline, and a condensate drain inspection. Homes with heavy filter loads or high humidity may benefit from a mid-season check as well.
Long runtimes are normal for a properly sized system in a hot, humid climate, and a system that runs steady cycles is actually doing better dehumidification than one that short-cycles. The thing to watch for is a system that runs continuously and still doesn’t reach the set temperature, which points to an airflow, charge, or load issue worth investigating.
We’re certified to install and service Carrier, Trane, Lennox, Goodman, Rheem, York, Daikin, Bryant, and American Standard, which means the technician arriving for a post-installation check is already familiar with the specific configuration of your system. If you’re still deciding what to install, we make brand recommendations based on the home’s load and your budget, not on any manufacturer exclusivity. Call (844) 834-0157 for a free estimate.
See the difference
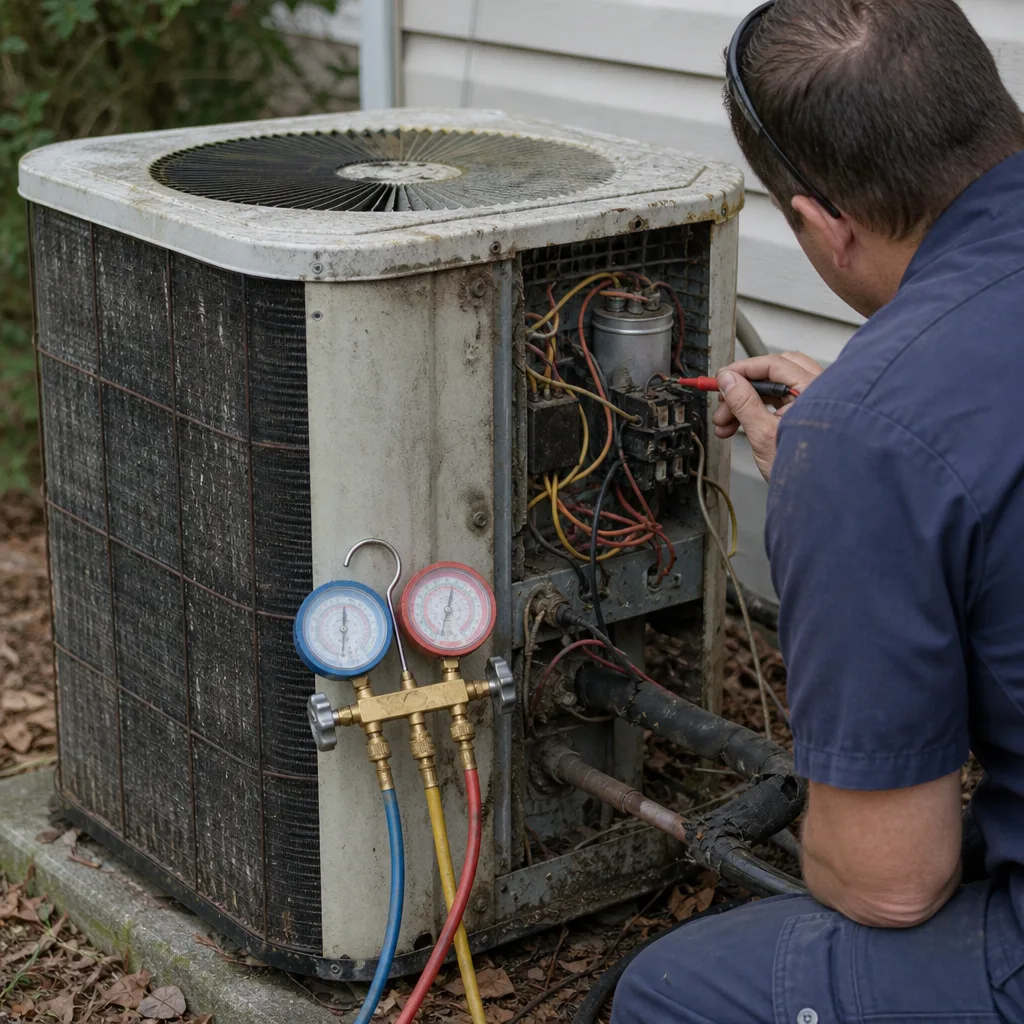 Before
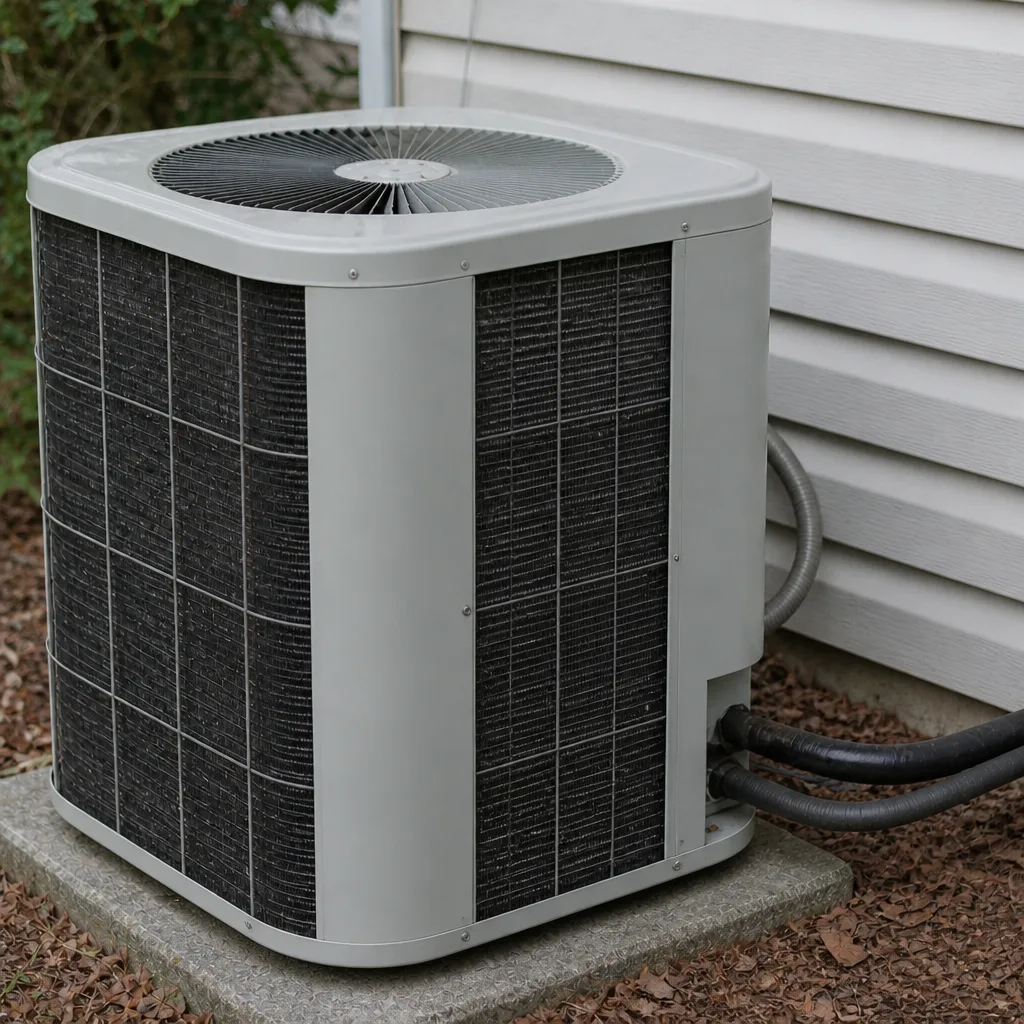 After
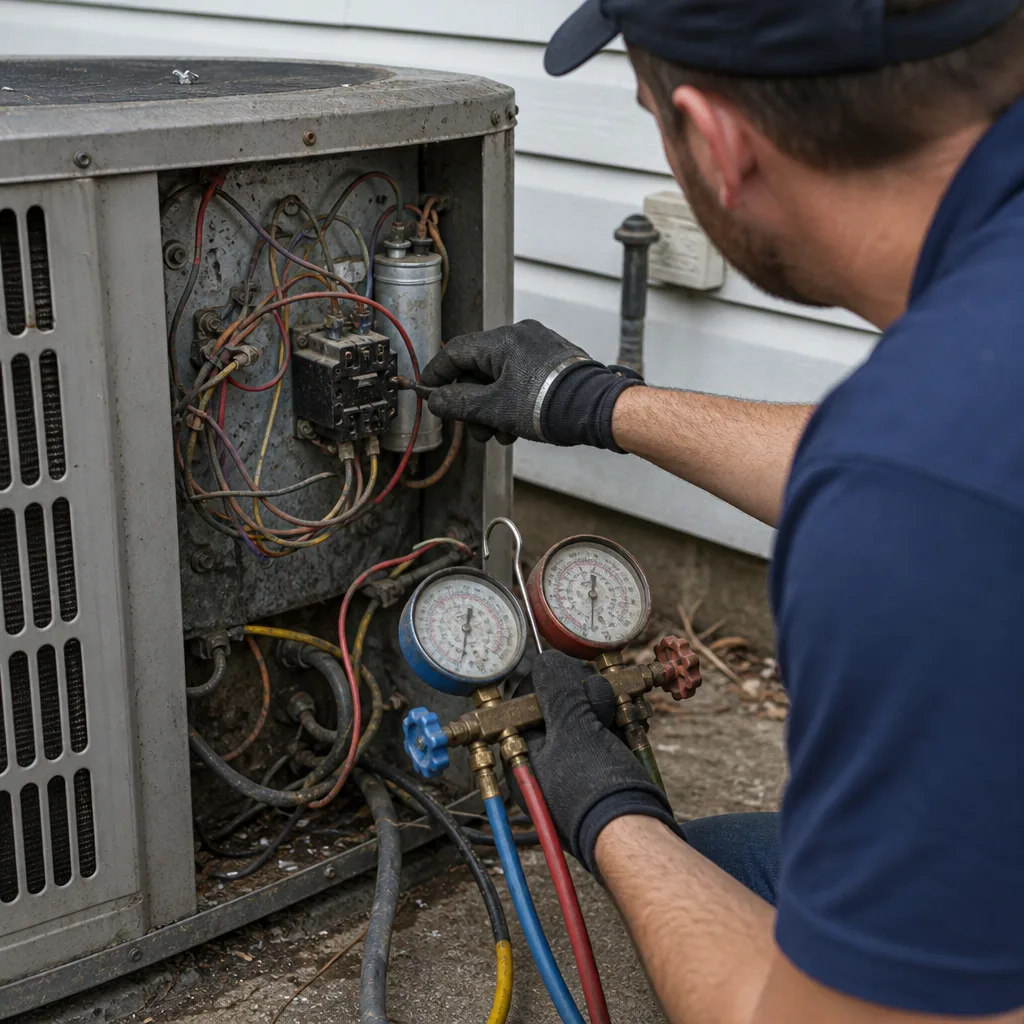 Before
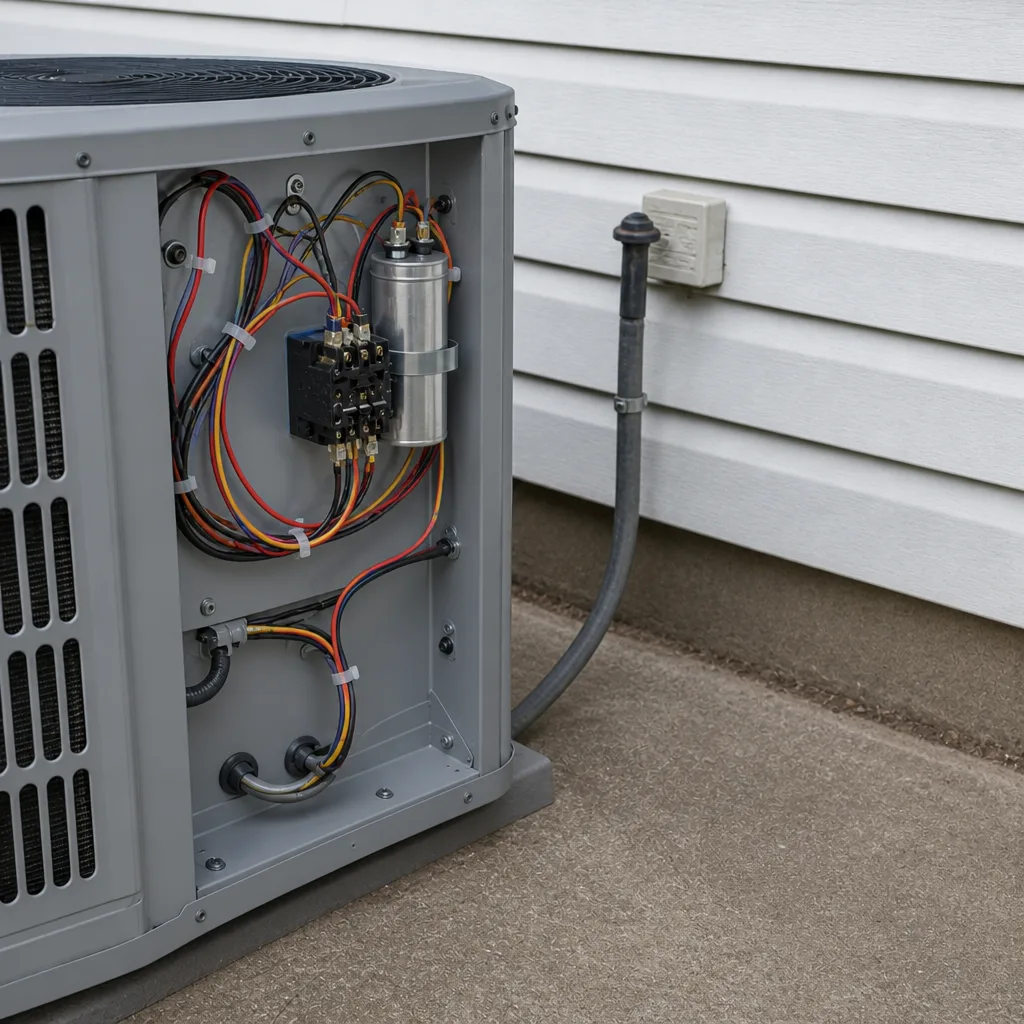 After
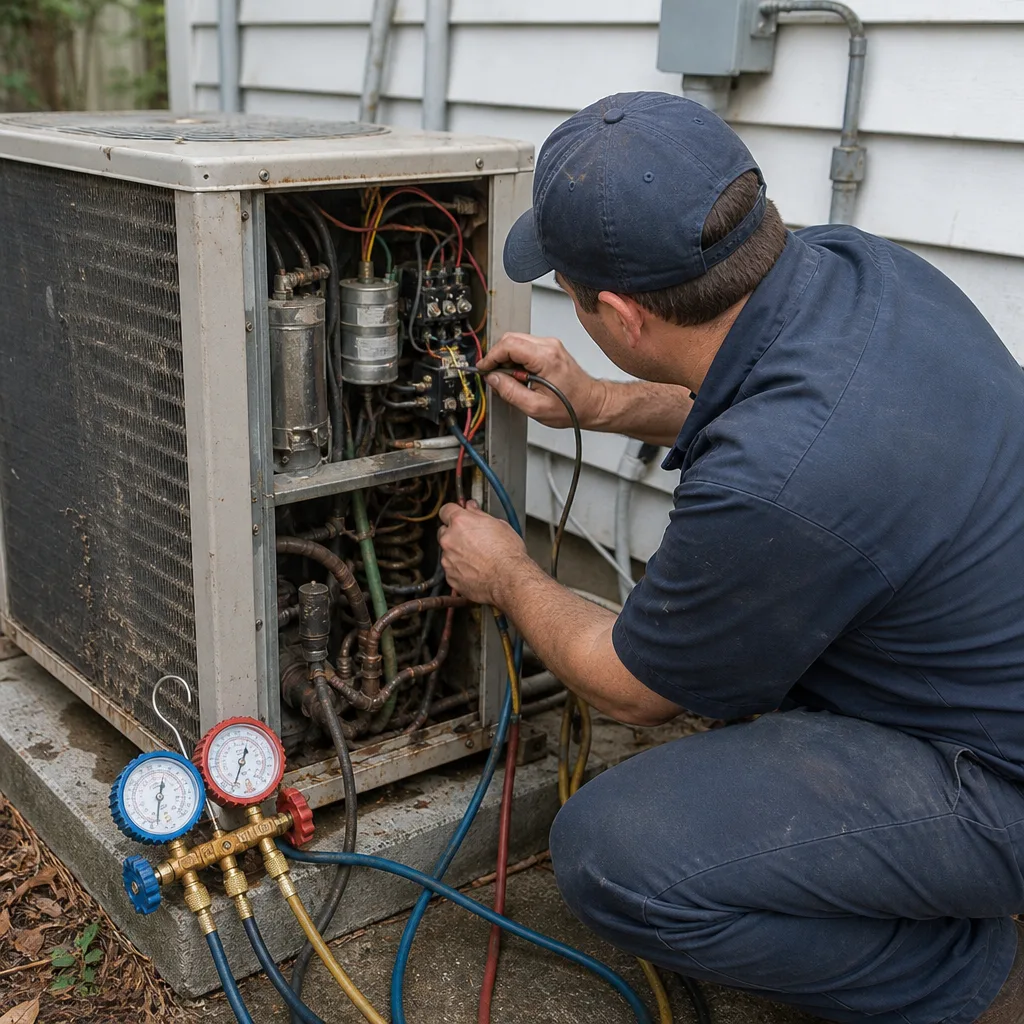 Before
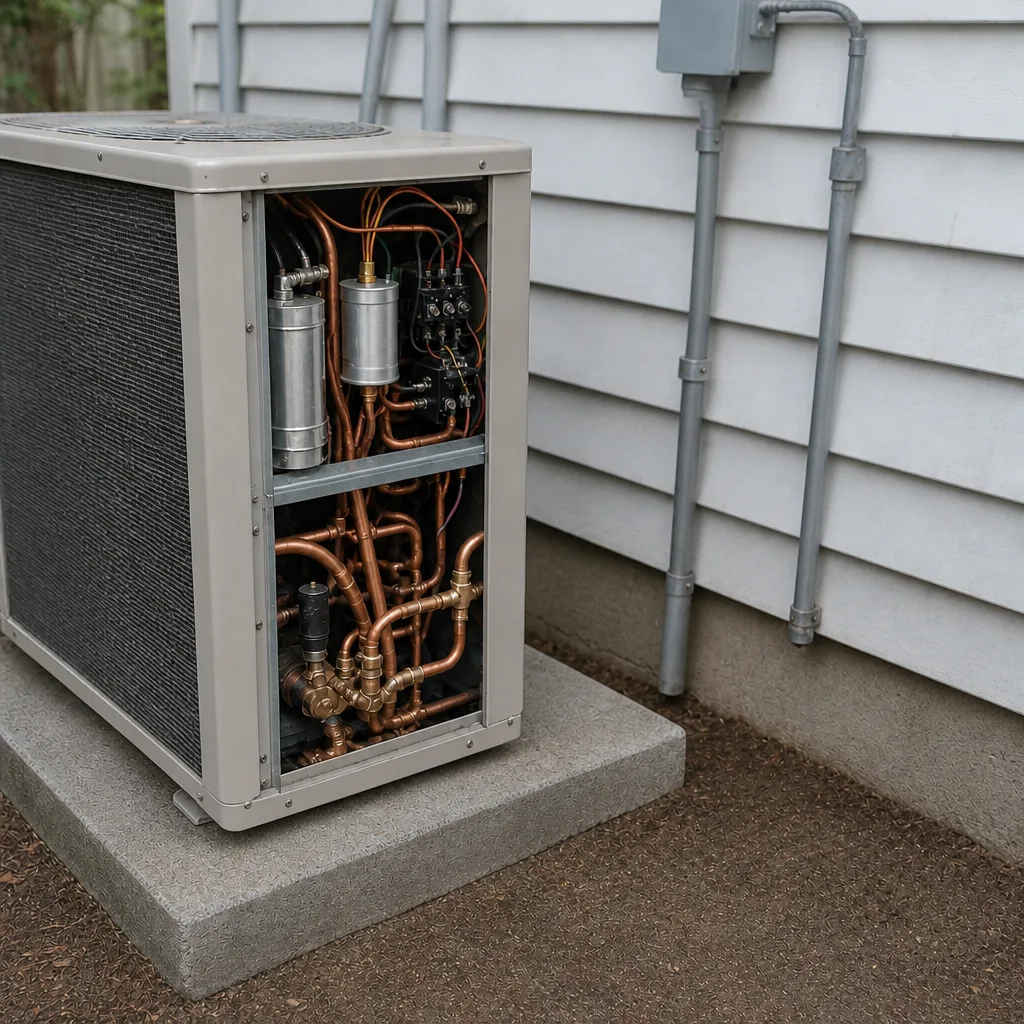 After
The Bottom Line
A new AC installation in Tallahassee is a starting point, not a finish line. The system needs a day-one walkthrough before the installer leaves, a baseline log of its original readings, a 30-day filter and condensate check, and a real inspection after the first full cooling season. Those four checkpoints catch almost every configuration error that would otherwise turn into a costly habit. Keep your warranty documents registered and your service history logged, and any future technician will have something to work from instead of a blank page. Our technicians have up to experience with new installations across nine major brands, and we’re happy to look at the system you already have.
Contact
Call (844) 834-0157 for a free estimate. We answer 24/7. Fast dispatch from 7am to 7pm, Sunday through Friday. Whether you need a post-installation check, a second opinion on a system that isn’t running right, or a full replacement quote, we’ll give you a written estimate with the price set per job before any work begins.
Written by the team at Ridgeway AC Repair.